<cfset variables.art = {art = art}>
<cfdump var="#variables.art#">
Running Apache Solr on JBoss
Off late, I’ve been doing a lot of development with Railo running on JBoss. So naturally, I wanted to plug in Apache Solr (which now ships with ColdFusion 9) into my JBoss instance running Railo.
What I thought would be straight-forward took a bit to figure out. The issue comes when you have to setup the solr.home property. The Apache Solr wiki suggests putting an <env-entry> node in the web.xml. However, if you do that, the XML does not validate as “-//Sun Microsystems, Inc.//DTD Web Application 2.3//EN”. JBoss 5 is a little particular about web.xml validating properly — which is a good thing!
So the trick to declare Solr home variable is to do this:
Add the following to conf/jboss-service.xml
<!-- For Apache Solr -->
<mbean code="org.jboss.naming.JNDIBindingServiceMgr" name="jboss.tests:service=JNDIBindingServiceMgr">
      <attribute name="BindingsConfig" serialDataType="jbxb">
         <jndi:bindings xmlns:xs="http://www.w3.org/2001/XMLSchema-instance" xmlns:jndi="urn:jboss:jndi-binding-service:1.0" xs:schemaLocation="urn:jboss:jndi-binding-service:1.0resource:jndi-binding-service_1_0.xsd">
            <jndi:binding name="solr/home">
                <jndi:value type="java.lang.String">FILESYSTEM_PATH_TO_SOLR_HOME</jndi:value>
            </jndi:binding>
         </jndi:bindings>
      </attribute>
 </mbean>
Replace FILESYSTEM_PATH_TO_SOLR_HOME in the above node to the actual physical filesystem path where Solr home for your application lives, e.g., in my case it was: /Users/indy/solr/
Add the following node to the application specific WEB-INF/web.xml:
<resource-env-ref>
     <resource-env-ref-name>solr/home</resource-env-ref-name>
     <resource-env-ref-type>java.lang.String</resource-env-ref-type>
</resource-env-ref>
And finally create a WEB-INF/jboss-web.xml file (if it already does not exist for your web application) and add the following content to it:
<jboss-web>
	<context-root>solr</context-root>
	<resource-env-ref>
		<resource-env-ref-name>solr/home</resource-env-ref-name>
		<jndi-name>/solr/home</jndi-name>
	</resource-env-ref>
</jboss-web>
Once done, browse to your app: http://yourserver:port/solr/ and you should see Apache Solr running. Obviously you need to make sure that the Solr home directory contains the appropriate XML descriptors for Solr configuration.
‘Agile’ Integration Tests on Grails
Over the weekend I finally scrounged some mental space to write a small application to manage bookings for my badminton club. After debating between Ruby on Rails (RoR) and Grails, I decided on Grails.
As you might know Grails has very nice and expressive way of modeling the domain classes — arguably more elegant than RoR. And also that writing integration tests to experiment with the CRUD functionality makes writing a robust and testable model very simple.
So I wrote a bunch of integration tests as I was designing the domain classes. However, running the tests using grails test-app was proving to be very slow, and I mean really slow — 11 seconds to run tests on two domain classes.
Using grails test-app runs both unit and integration test. The actual time taken to run both the unit and integration tests wasn’t that much. It was the overall task of setting up the test environment that seemed to be taking a while.
So I experimented with a couple of options. You can chose to run only the unit or integration tests:
grails test-app -unit
grails test-app -integration
It is nicer in that one can run either unit or integration tests, but it still is quite time consuming as far as integration tests go.
To make a little more efficient, you can also just run integration tests on one class at a time:
grails test-app -integration className
This runs integration tests for only the class whose className is provided.
More information on this can be found in the Grails documentation.
Quicker, but still not fast enough to be called “agile”!
The final thing to try was to run the interactive Grails interactive shell:
grails interactive
This launches the Grails interactive shell in which you can issue various commands. So to test an app:
test-app
This takes a little while to setup the test environment etc., but once it is done, the next time you run test-app, Grails only takes the time to run actual tests, which is much faster and ‘agile’!
Coda Snippets for ColdFusion, MXUnit and ShadoCMS
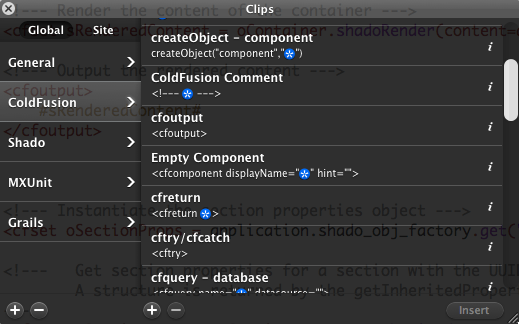
 If you’ve been following my blog, you might have seen that I’ve started using this wonderful editor called Coda for most of the development work I do. It has very nice built-in support for ColdFusion and given that it is a native Mac app, the interface is beautiful. And it has a few really nice features like built-in FTP and Clips (snippets).
Over the last month or so, I’ve built up quite a few clips, which are just snippets in CFEclipse-speak, for ColdFusion, MXUnit and ShadoCMS. Obviously I’m adding more as I find time or as I need, but here is what I have managed to put together till now.
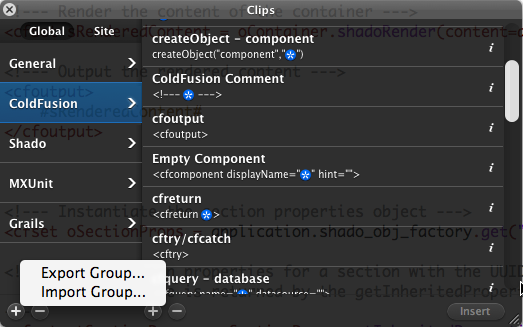
To install, simply download and double-click the file. It should automatically become available in the Clips area. Or you can open the Clips window and right click on the left side of the Clips window:
Also, I’ve set up keyboard triggers for most of the clips. You might want to change them to what you like.
Have fun!
PS: My initial ColdFusion clips started off with this comment on a previous blog entry.
Apache Configuration Language Module for Coda
 After my last post on FTP in Eclipse, I started using Coda as an alternative editor for CFML. Must say that it is one of the nicest applications that I’ve used (sorry Windows users, it is a Mac only app).
It support CFML code completion, snippets and syntax highlighting. Very quick and easy to use.
In fact, I switched all text files to open in Coda. It is quite extensible and provides quite a few language modules for syntax highlighting and code completion.
Since I’m usually twiddling with Apache conf files, I found an Apache language module (http://www.codingmonkeys.de/subethaedit/modes.html). However, that module is quite old… it was last updated in 2004.
So, I decided to spend a little time and bring it up to date. It now supports all directives and keywords up to Apache 2.2.
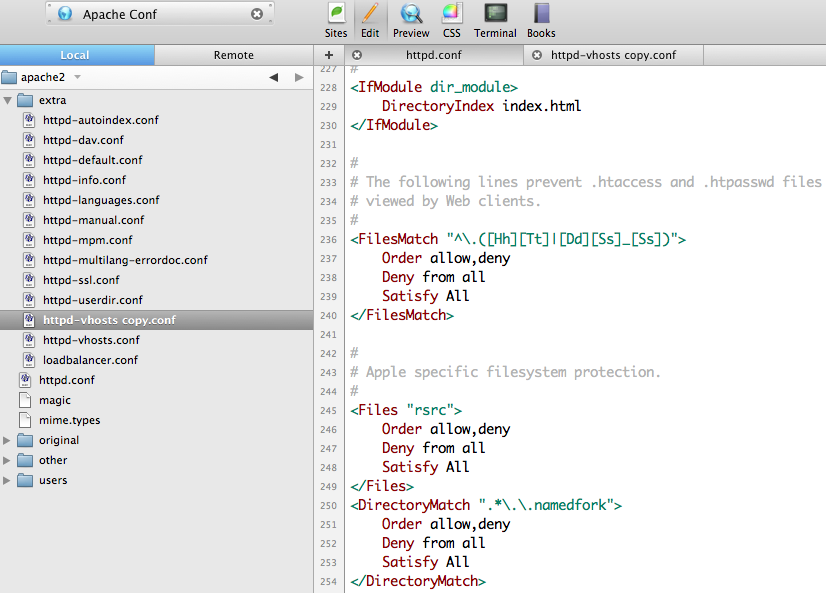
Here is the updated version of the Apache language module Simply unzip it in ~/Library/Application Support/Coda/Modes/ folder and restart Coda.
I find it really useful as you can immediately see syntax errors. It really helps in cutting down the number of times you to test Apache configuration file changes, and even number of Apache restarts.


